Thursday, January 5, 2012

How to make your own Vintage Book Print on a $0 Budget

Day 5 and all is well on my $0 Budget front. We are having a hodge podge of things for lunch today so I can use up those little things I found in the freezer. The kids usually love this because they gets bits of some of their favorite junk type food (you know the last 3 chicken finger, a handful of french fries, a few perogies) so they won't complain. 
 
If you have been on Pinterest recently, you probably have seen those really cool Vintage art pieces where the designer has 'created' art on old dictionary paper. You know the ones I am talking about; they sell for $7-$8 depending on the Etsy seller. Well I use the word design very loosely because if you have a printer, internet access and an old book you are willing to cut up, you can make these for NOTHIN.

(sorry, I haven't hung it. It is standing on my headboard)
 
I sat down last night after getting the kids to bed and thought I would give this a try. It literally took me 5 minutes from the time my behind hit my chair to being finished.

Here is how I did it within my $0 budget.

At my local not-for-profit thrift store they have a book shelf of free books. One offs that they can't sell so they just let you take what ever you want. So whenever I am there I look for old books and dictionaries. I like to stack them to prop up little items on our bookshelves. Over the past few months I have created good collection of odd old books...some are not as good as others like the Nursing one from a really long time ago that has horrible drawings in it. I be sure to keep it high so the kids don't see them :) Sorry, I went off topic a bit.

So I grabbed one of my free books that was a little bigger than 4x6 and had a nice yellowing to it. If your page doesn't have the color you want, search on the internet and there are simple ways to yellow the pages.

I carefully cut out the pages with an exacto knife and a metal ruler. Since the book I used was a gardening one, I only used pages that had no drawings on them.
 
 I searched the internet and found an amazing site that offers "Free vintage images, printable, downloadable" . The funniest part of finding this is, that after I started going through the images, many of those being sold on Etsy are from this site. So you might be able to create the exact one you like for FREE.

There are so many on this site I can guarantee you will find something you love. Here is my favorite octopus (which they have loads of) and one of my favorite flowers.

When you find the image you like, right click on it and select 'Save Image As' . Save it to a location you will find easily.

Open Word and insert the image. I used a full page to design it because my printer is horrible and I find this works the best. But be prepared to have a few test prints before you print the final ones.

Here is where it gets fun. I didn't want my images to be really bold, I wanted them to be a little blurry and not crisp. So I used an artistic affect called 'glow diffused'. It just softened the image around the edges.

If you want to change the overall color like they have on the Etsy shops, this is how you do that. Select the image by clicking once on it, go to the 'Format' tab, select 'Color' and then this window will open.
Then run your arrow over the different colors to see what they will look like. Once you find one you like, click on it. That simple! You can always go back to the original so play around and see what you can do.
Next, put a sample paper in your printer and test how it prints. Change the size, positioning, etc. as you need to and print it again.

It really is that easy!
I had a three panel frame from IKEA sitting around that I had intended to use last Father's day but I never got around to. So I printed three images that remind me of our travels (the squid from Korea's fish markets and the sea horses from San Fransisco's Monterey Bay Aquarium). The best part is these can easily be changed as I grow tired of them.

The possibilities are endless! Wouldn't it be great to customize these?
  • My mom is a nurse, so I could cut a page out of my horrible nursing book and print the nursing symbol on it.
  •  If you have a gardener, cut a page out of an old gardening book and print some images of flowers, trees, etc.
  • A dictionary page for a teacher with their name, initials, or the Chinese symbol for teacher.
  • As a wedding or shower gift with a large heart and then the bride and grooms initials  and wedding date.
If you don't have a local thrift store to find the books at, talk to your parents, grandparents, neighbors, go to garage sales. I can guarantee you will not have to look far to find what you want.

What do you think? Can you use this for something?

I guess I can post this on both my frugal gift idea page and my $0 Budget page :)

Stephanie

Wednesday, January 4, 2012

Love is Patient - Our Wedding Reading Framed on my $0 Budget

I am 4 days into my $0 Budget month and things are going well. I have not had time yet to start purging closets but I have made every meal from what we have in the house.  So I feel like the freezer is starting to show some gaps.
I don't think this next project is dramatically different than the framed quotes I did last year here, but I still love it.

Ever since my husband and I got married 10 years ago (wow time goes by quickly), I have wanted to frame a few things that reminded me of our wedding day to put in our bedroom. This is the one place in our house that is just for us; a place for things that I don't need to explain what they means or share why I framed what I did. A place that I can put special things that only have meaning to the two of us and can make us smile and remember every time we look at them.

I will only share my first project now (the other might come later this month if I can do it with $0).

I have always loved the readings from our wedding ceremony. We were able to work with our priest to create our own ceremony by selecting all the readings. I immediately fell in love with the passage from 1st Corinthians 13:4-7. For those of you who think you are not familiar with it, I can guarantee you have heard it. 
 It goes something like this (there are slight variances depending on the version)

"Love is patient, love is kind. It does not envy, it does not boast, it is not proud. It is not rude, it is not self-seeking, It is not easily angered, it keeps no record of wrongs. Love does not delight in evil but rejoices with the truth. It always protects, always trusts, always hopes, always preserves."


Author: 1 Corinthians 13:4-7
As mentioned previously with  my Celtic heart knot project, we love Celtic knots. We love them so much my husband's wedding ring has a continuous knot around the entire band. So when I started to design this quote, I knew I wanted it to have a Celtic influence.
I downloaded a few free Celtic fonts from one of those font websites. I used CelticEels for the LOVE letters and Shrewsbury for the text. 
Using Publisher (you could easily do this in Word too) I created two text boxes, one with LOVE and the other with the remaining text.
 I then rotated the 'LOVE' box by 90 degrees so that is was on the side of the passage.
 
I knew when I was designing it I was going to print this on nice scrapbook paper (since I can't pay to have it developed) but I didn't expect it to take me three tries to get one that I actually liked.

Here is attempt #1 (don't mind the different colors on the word LOVE; I was trying to make it better). I really didn't like the pattern or the blue paper. Fail.
Here is attempt #2. My husband recommended green since it was a Celtic font. Well it looked like a Shamrock shake..remember those at McDonald's. It was a fail too.
 Then attempt #3 required I cut the boarder off a 12x12 inch scrapbook page.
 I ran it though the printer but was still not happy. I wanted the word LOVE to stand out more. I felt that since it was sideways, it was difficult to figure out what it was.
So I lightly colored in LOVE with a maroon pencil color that I stole from my daughter's school pencil case. You can barely see it but it makes the word pop a bit more.
I had a deep inset black 8x10 frame with a mat to make it a 5x7 laying around to frame it with. I am positive I got this frame last year at the Dollar Store.
I am not sure exactly where I am going to put it yet. I like it on my night stand but it also matches our walls really well, so I might hang it. I hope to one day do a gallery wall beside our bed, so it might end up there when I collect enough frames.
What do you think? Do you have a favorite passage from your wedding?

Have any of you come up with $0 ideas of your own? Are we ready to have a $0 Budget link party? If anyone is interested I can do one every Friday or every other Friday...just say the word :)

I will have a great guest post tomorrow so be sure to stop by.

Stephanie

Tuesday, January 3, 2012

Dry Erase Chore Charts and Kitchen Magnetic Board on my $0 Budget

I will be honest with you...it has been only three days since we started this $0 spending month and I almost forgot twice. On New Year's day we were driving home from a family function, it was 5:30pm and the kids were starving. I was tired and just didn't want to cook dinner so I recommended we head to the local drive through....NO! I remembered at the last minute and we steered clear.
How is everyone else doing with their $0 month? It isn't too hard for us at this point because the freezer and pantry are full, I just need to remember :)

Along with our $0 month, we are starting our New Year's resolutions. Every year, we sit down as a family in the week leading up to New Years and discuss what we will work towards together. The kids decided they would like to try to save some money this year towards a few larger purchase, so in order for this to happen, we felt they need to be more consistent with their chores.

So we worked together to create a chore list for each of our two kids along with our family rules.  In the past I have used the template that ModEcoKids created but that site seems to have disappeared. So I had to start from scratch. I downloaded two free Word background and created two chores lists that were tailored to each child. Please remember that my kids worked with me to create these lists. So don't yell at me because my daughter is emptying the dishwasher and my son isn't. She is older and wanted to do this :)


Here is my daughter's chores list:
 Here is my son's chores list:
 Here are the family rules we created:
Since I have no budget to laminate these and they will probably change frequently, I used two sheet protectors to make the chore lists reusable.
 I removed the binder three holes at the top of the sheet with my rotary cutter.
 Slide the chore chart into the sleeve and you are done.
 Simply use dry erase markers and you have a reusable chore chart.
When the kids have completed their chore that day, they check off the box.
Using an old message center (you know those large frames with a white board, cork board and mail pockets) I created an island magnetic board. I had it laying around the garage because someone wrote on the white board with my beloved Sharpies.  I used the exact same method as I did last year when I made a magnetic board for my daughter here. It was very easy and cost nothing since I had the frame, fabric, duct tape and metal flashing on hand.
I secured the frame to the cabinet with those 3M removable adhesive stickers. I wanted to be able remove it in the future with no damage being done to our island.

I love the fabric and had purchased it ages ago to make pillows for our family room. I obviously have not made the pillows yet, but I still have some left over so there might be one or two to come.


So this is where our chore charts will be kept for us to see on a daily basis. (sorry the pictures aren't great. It gets dark really early now :) )
How does everyone else deal with chores in their house? Anyone have any tips or tricks on how to get their kids to do their chores without having to remind them a hundred times?

What do you think..will this work?
Stephanie

Monday, January 2, 2012

$0 Budget Month Guest Post: On the V Side

Hello there!

Thanks to Stephanie for having me here!  I'm Emily from On the V Side - my blog where I focus on fun, family, and attempting to beautify my home without breaking the bank. Like the banner says, "Martha Doesn't Live Here" :)   From decor to crafts, my philosophy is that Your Home Doesn't Have to be Perfect... Just Perfect for YOU.
Stephanie's $0 Budget Month challenge totally appeals to me, because who doesn't love to create something fabulous out of stuff you already have?  If you're like me, shopping the house is one of the most gratifying experiences.

Check out some of these projects that you can create your own version of with stuff you likely have in your house right now:
(for the full tutorials, just click on the links below the photos)

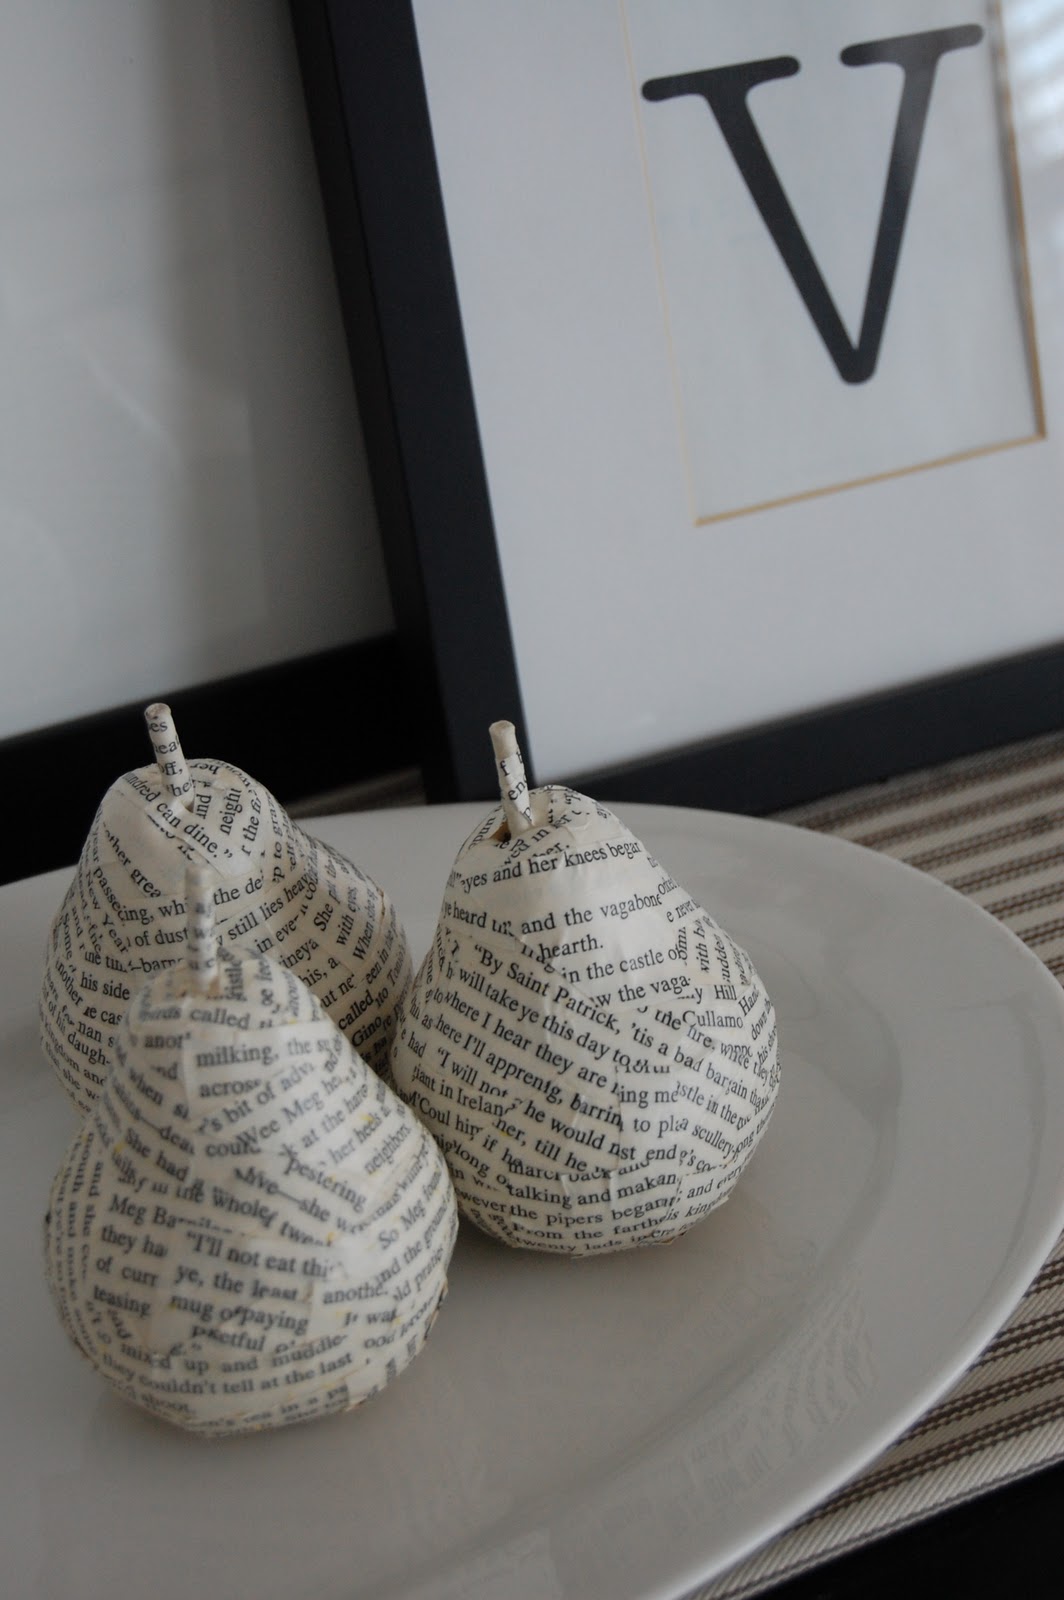
I'm willing to bet most everyone has some sort of outdated figurine or small statue that has seen better days, collecting dust all packed away or headed for the Goodwill pile.
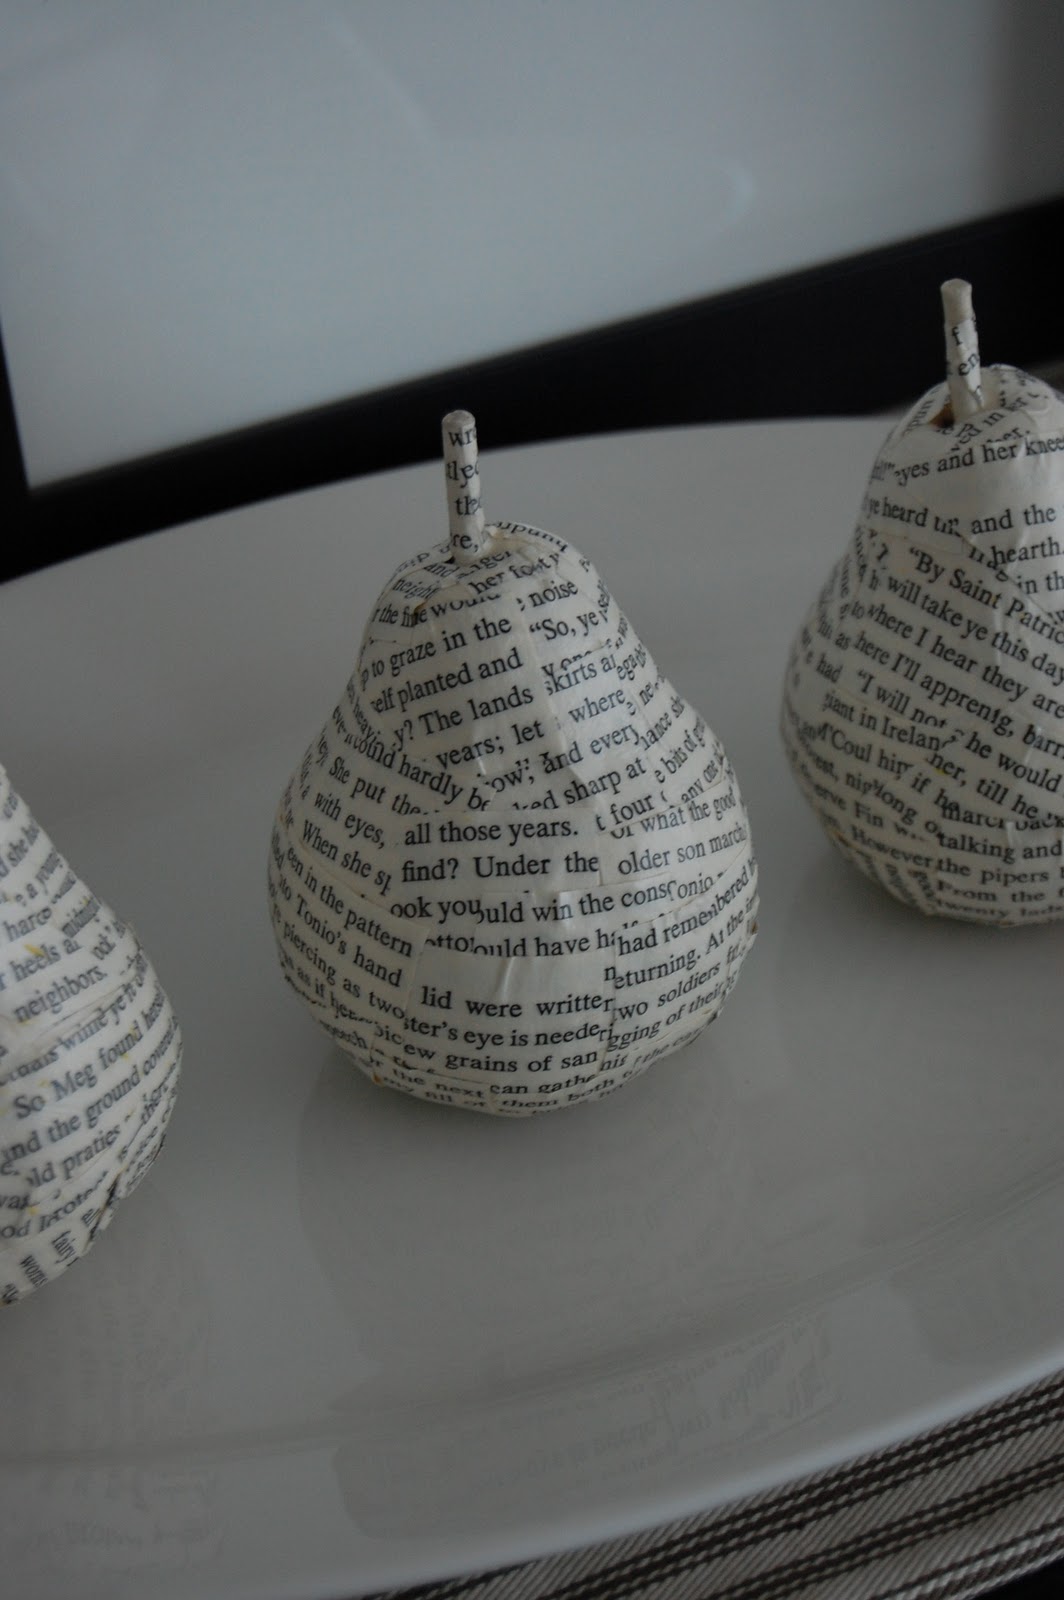
I took some inspiration from Anthropologie and gave these old pear ornaments a face lift just by covering them in book pages.


 Anthro-Inspired Pears

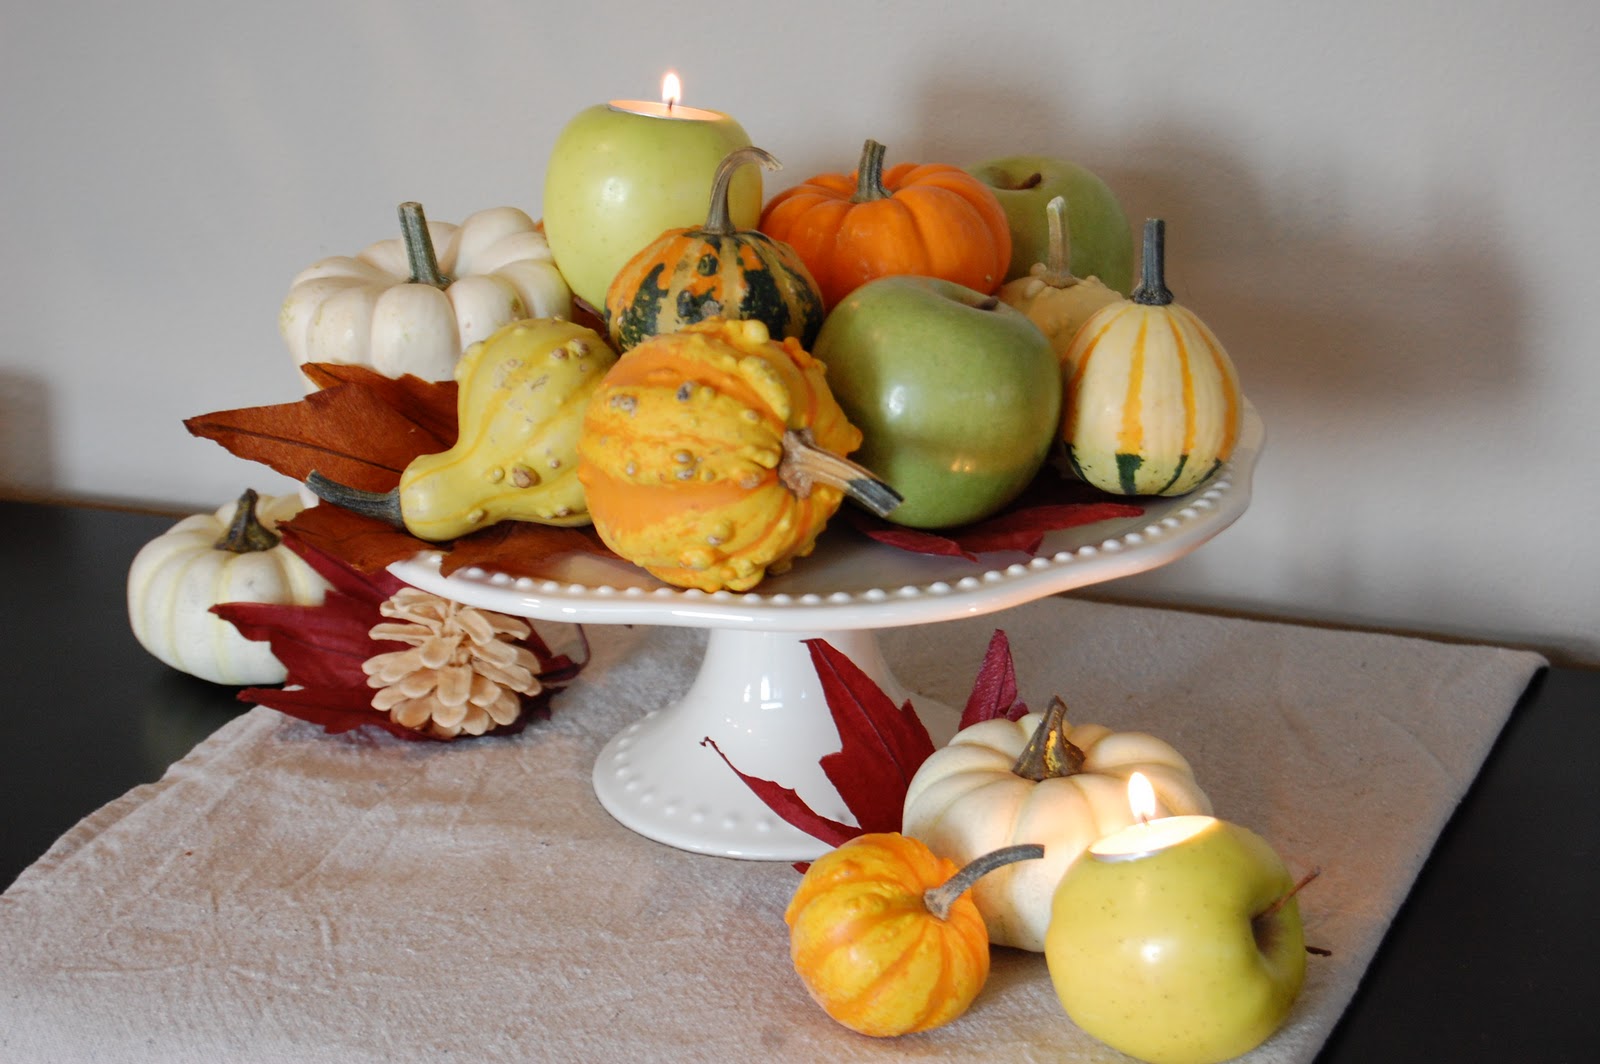
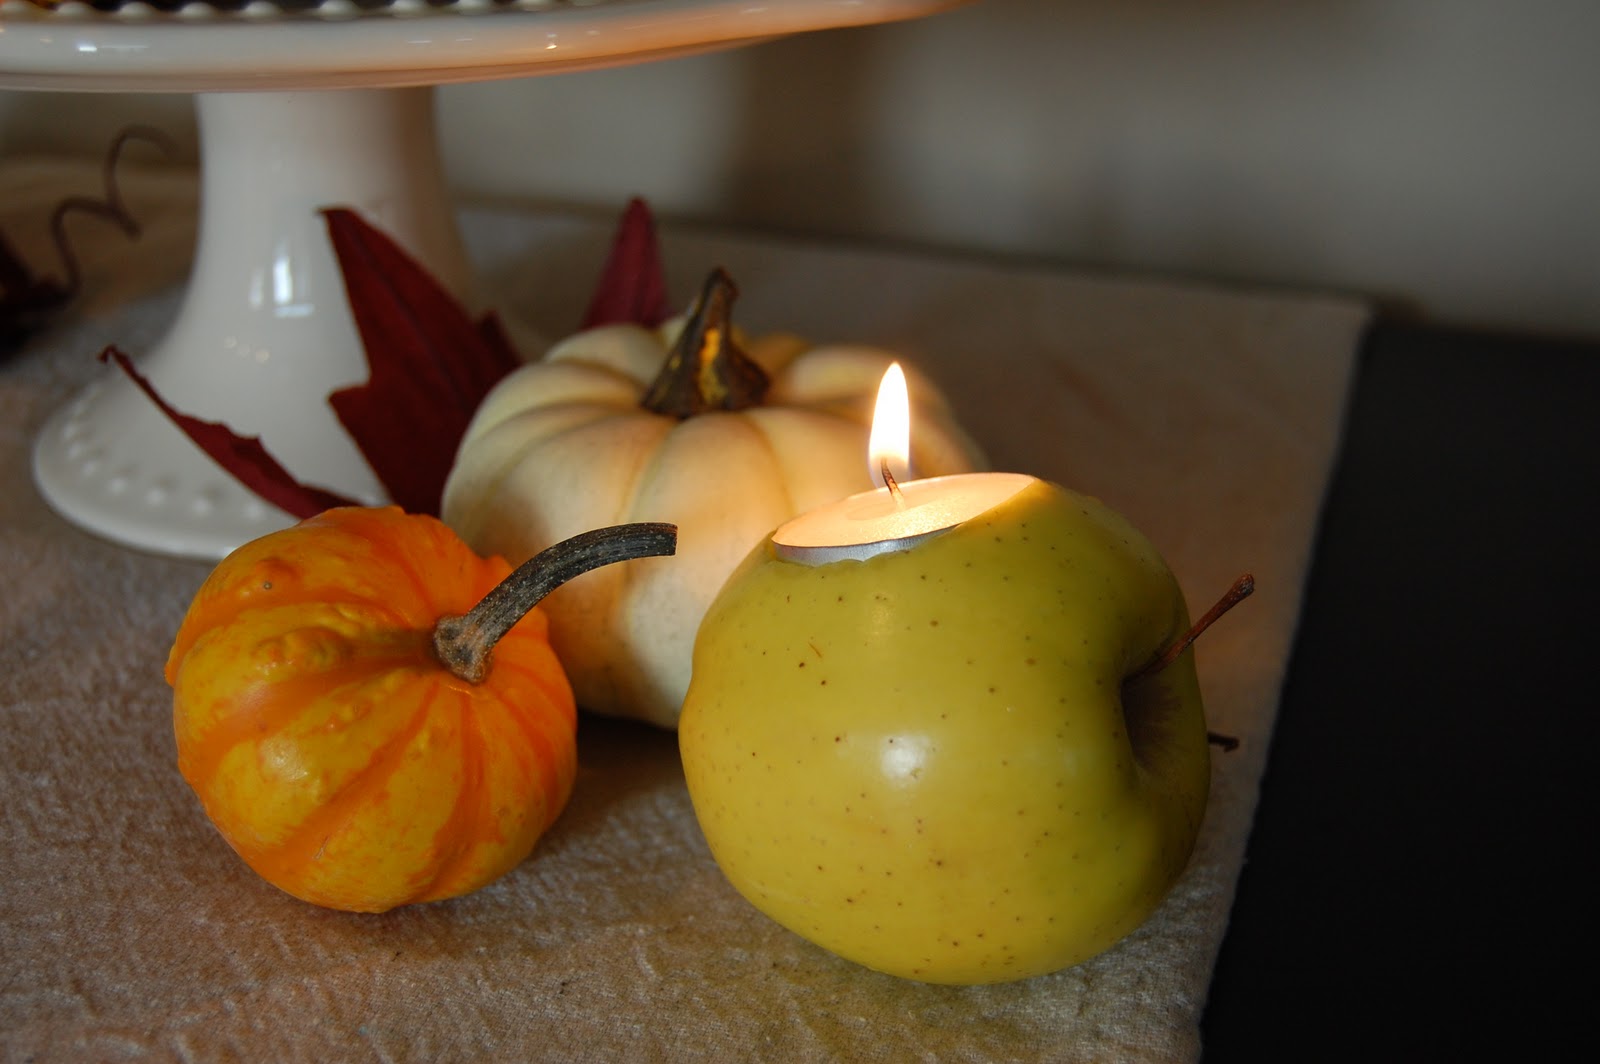
I was looking for some candles and holders that would work with my harvest decor, and in the end decided I would just make my own.
I found some apples in the fridge and some tealights hiding in a drawer... and voila!  Instant candles!


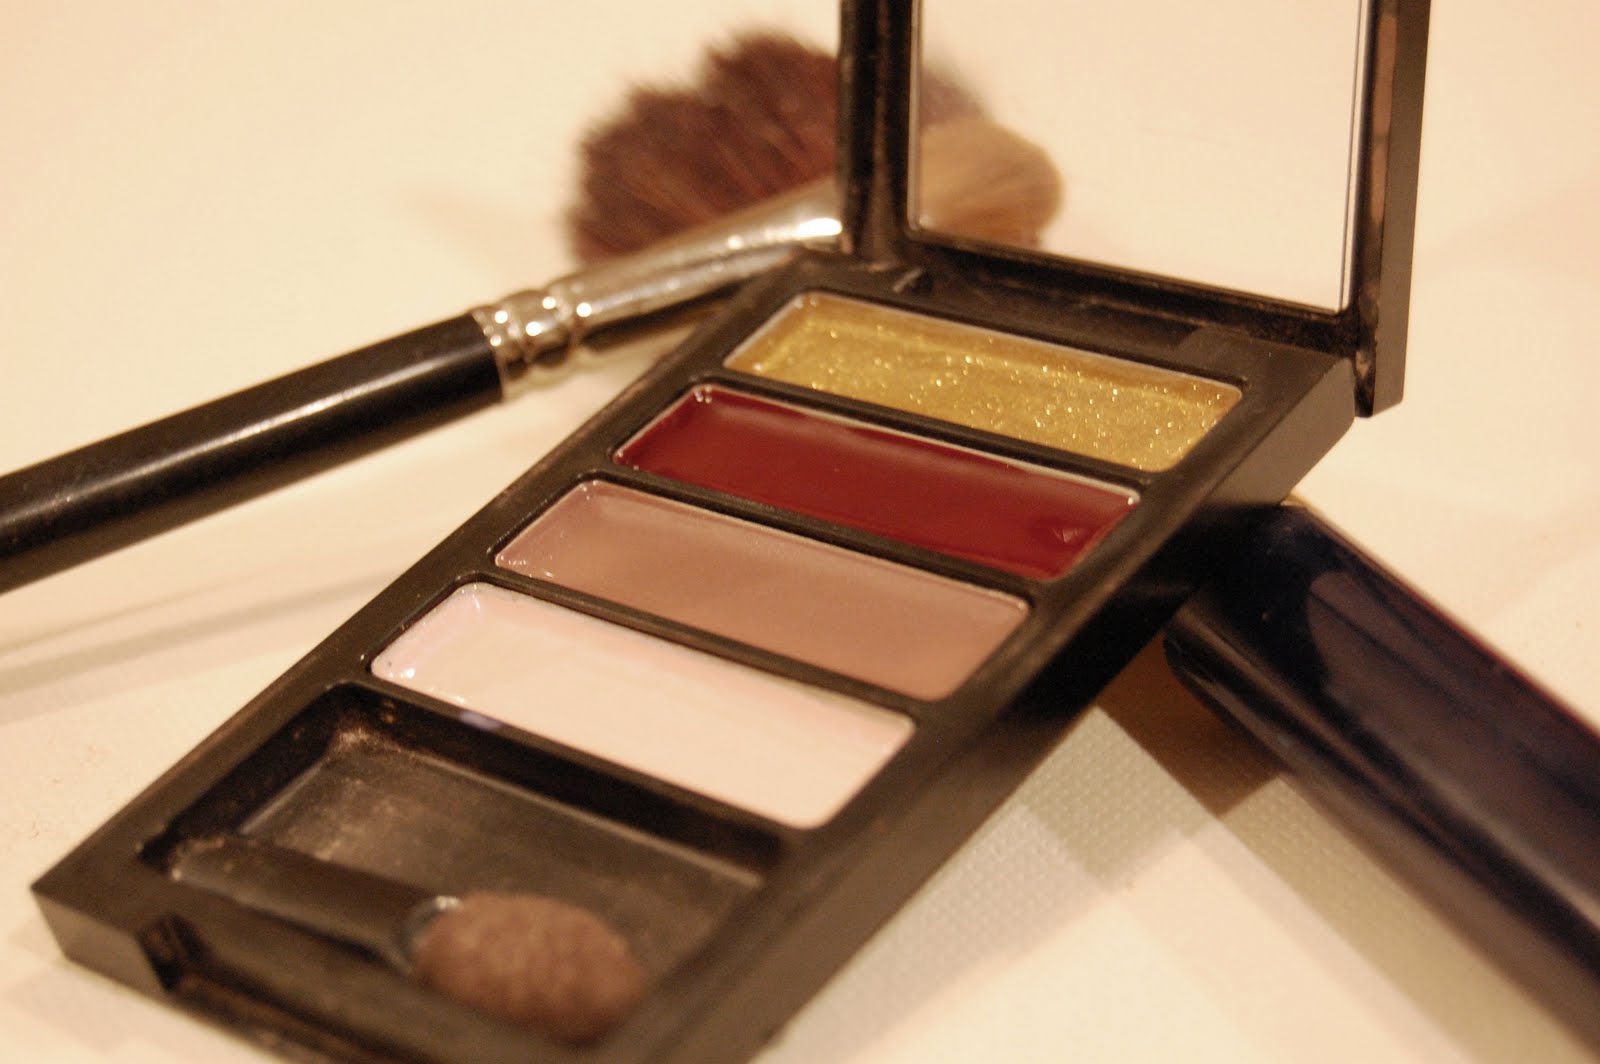
And for you moms of daughters, I'm sure you can relate to having a pint-sized friend wanting to play with your makeup.  I have a 2 year old who thinks she "needs" to put on "her" makeup when I'm putting on mine.  Well....no.  I'm not a fan of handing over eye shadow and blush to a maniac toddler! :)  
So, I created this realistic-looking "play" makeup using just an old empty eye shadow case and nail polish.
Those are just some of the $0 projects from On the V Side - thanks so much to Full of Great Ideas for letting me hijack your blog today!


Cheers,

Sunday, January 1, 2012

Special Date Art on my $0 Budget

Happy New Year Everyone! Are you ready for a full month of not spending? For those of you who are partaking in this experiment with me...I can't tell you how excited I am to have your support!
I have had emails with people inquiring as to the rules for this challenge; I cannot set the rules for you. Each and every one of us needs to set our own goals and work towards them. For me, I have a list that my family and I will live by over the next 31 days. I absolutely love what Mother Hen Strikes Again posted on her blog as her rules, so I thought I would share what she wrote (my additions are in italics).

7 golden rules for my $0 Budget month:
1. Thou shall not spend ANY money on Crafts and home  decor or go into a craft or Dollar store
2. Thou shall not spend ANY money on DVDs, CDs, Books or Clothes
3. Thou shall not spend any money on Sweets or Treats (make whatever you got for Christmas last until February young lady!) This will be especially hard for me because I am addicted to potato chips and chocolate. So maybe I will drop a few pounds while I am saving a few dollars.
4. Thou shall only buy essential groceries and make savings wherever possible!
5. Thou shall only complete crafts with the items already in the house
6. Thou shall not go to ‘Coffee’ or ‘Lunch’ with other Mummies unless invited to their home or them to mine.
7. Thou shall think “Thrifty”.

Don't you love those?   Please be sure to stop by Mother Hen Strikes Again to see what else she has to say during our month of not spending.

On to my first $0 post for 2012 - Special Date Art
This is another craft inspired by my countless hours spent wasted browsing Pinterest. Andrea at A.Steed's.Life originally posted this project by creating a digital image of the background and numbers. I love what she did but I wanted to use scrapbook paper that matched the color of accessories I am starting to use in my family room (more of that this month). So I made it differently with scrapbook paper and vinyl.

Materials (all of which I have on hand):
  • Scrapbook paper
  • Vinyl or contact paper in black and white
  • Picture frame (8x10)
  • Painters tape
  • Red paper


Method:
I designed my family's important date art in an 81/2 x 11 image Sure Cuts a Lot program. If you don't have this program and/or a digital cutter, you can create it in Microsoft Word or Publisher and then print it directly onto scrapbook paper.

When I created the image, I made it so that the numbers stretch to be the exact same width because I wanted both sides to line up perfectly.
I also used Modern No. 20 font for this (you can easily find and download this font on those free font sites).

Once I had the exact design I wanted, I removed the center row of numbers because I wanted that row to be white. I cut the four dates in black vinyl and then cut the other in white.
Using my painters tape method to transfer vinyl, I moved all four rows of the black vinyl at the same time. This way I was able to ensure they were perfectly spaced and straight.

 I then added the row of white numbers using the same method.
 I added a small red heart to the white vinyl to add a splash of color.

Here is my finished project on our shelves...I will add (because I feel I need to say it even though this is a $0 month) it cost me nothing because I have hundreds of scrapbook pages, yards of vinyl and contact paper and probably 30 frames on hand. Isn't it great!?
 Thank you Andrea for this amazing idea.
Good luck everyone with your spend free month. Remember we are all here to support each other...so if anyone needs to share a story or seek a little support..post a comment or send an email and we will be there for you.

There is an amazing $0 guest post tomorrow..so please try to stop by.

1 day down....30 to go.
Stephanie at Full of Great Ideas

Wednesday, December 28, 2011

Anyone Interested in Guest Posting on Full of Great Ideas during the $0 Budget Month?

As January 1st and our $0 Budget month is rapidly approaching, I thought I would put out an offer to all my fellow bloggers out there. Are any of you interested in doing a guest post on Full of Great Ideas during January’s $0 Budget/Spend Free month?  

I really want to make January full of as many fantastic $0 projects, tips & tricks and saving techniques as possible and since you all have amazing ideas, I thought this would be a fantastic way of sharing older posts you have done.

What do you think? Would you like the chance to guest blog at Full of Great Ideas?

If you’d like to guest blog at Full of Great Ideas during the $0 Budget Month, here are a few ideas as to the posts I am looking for:
·         The project must have been done with materials you already had at home. So $0 budget.
·         If you have a way of doing something that is far cheaper than the traditional method, please share!
·         If you have found a way to save money, time, etc. that you think others could benefit from, we would love to hear about it. This could include recipes, household activities, etc.
·         Anything else you think will fit into the $0 Budget Month challenge, please include it.

 So if you are interested, here is what you need to do:
·         Create a post that introduces yourself and then shows off no more than 3 projects, tips, crafts, saving tricks, etc. that you have previously blogged about. I recommend only include one or two pictures per project.
·         If you have enough projects that you can do 2 guest posts, please send them in different emails. I cannot guarantee both will be posted, I don’t know what demand I will have J
·         The layout of the post could be: your blog header or a photo of you, a short introduction on yourself and your blog and then your three projects. Please include links directly to the projects.
·         Please don’t make this a tutorial, I want you to introduce yourself and encourage people to come to your blog for your full tutorial or instructions.
·         Email me the blog post code to fullofgreatideas(at)gmail.com. It is really easy to pull your ‘code’ for a blog post. On Blogspot and Wordpress, there is a little tab on the upper right hand corner of the box where you type out your post called ‘HTML’. This is where you find your code. Once you have completed your blog entry, save it and then click that tab. Copy every last letter or symbol in that box, paste it into the body of an email and send it to me. 

As I receive your code, I’ll schedule a day for you in January and let you know when you will be featured. I would greatly appreciate if you could post on your blog that day letting your readers know you are guest blogging at Full of Great Ideas during our $0 Budget Month.

Let’s help everyone save some money after Christmas!

If you have any questions, please feel free to send me a note and I will try to help.

Stephanie at Full of Great Ideas