Tuesday, January 3, 2012

Dry Erase Chore Charts and Kitchen Magnetic Board on my $0 Budget

I will be honest with you...it has been only three days since we started this $0 spending month and I almost forgot twice. On New Year's day we were driving home from a family function, it was 5:30pm and the kids were starving. I was tired and just didn't want to cook dinner so I recommended we head to the local drive through....NO! I remembered at the last minute and we steered clear.
How is everyone else doing with their $0 month? It isn't too hard for us at this point because the freezer and pantry are full, I just need to remember :)

Along with our $0 month, we are starting our New Year's resolutions. Every year, we sit down as a family in the week leading up to New Years and discuss what we will work towards together. The kids decided they would like to try to save some money this year towards a few larger purchase, so in order for this to happen, we felt they need to be more consistent with their chores.

So we worked together to create a chore list for each of our two kids along with our family rules.  In the past I have used the template that ModEcoKids created but that site seems to have disappeared. So I had to start from scratch. I downloaded two free Word background and created two chores lists that were tailored to each child. Please remember that my kids worked with me to create these lists. So don't yell at me because my daughter is emptying the dishwasher and my son isn't. She is older and wanted to do this :)


Here is my daughter's chores list:
 Here is my son's chores list:
 Here are the family rules we created:
Since I have no budget to laminate these and they will probably change frequently, I used two sheet protectors to make the chore lists reusable.
 I removed the binder three holes at the top of the sheet with my rotary cutter.
 Slide the chore chart into the sleeve and you are done.
 Simply use dry erase markers and you have a reusable chore chart.
When the kids have completed their chore that day, they check off the box.
Using an old message center (you know those large frames with a white board, cork board and mail pockets) I created an island magnetic board. I had it laying around the garage because someone wrote on the white board with my beloved Sharpies.  I used the exact same method as I did last year when I made a magnetic board for my daughter here. It was very easy and cost nothing since I had the frame, fabric, duct tape and metal flashing on hand.
I secured the frame to the cabinet with those 3M removable adhesive stickers. I wanted to be able remove it in the future with no damage being done to our island.

I love the fabric and had purchased it ages ago to make pillows for our family room. I obviously have not made the pillows yet, but I still have some left over so there might be one or two to come.


So this is where our chore charts will be kept for us to see on a daily basis. (sorry the pictures aren't great. It gets dark really early now :) )
How does everyone else deal with chores in their house? Anyone have any tips or tricks on how to get their kids to do their chores without having to remind them a hundred times?

What do you think..will this work?
Stephanie

Monday, January 2, 2012

$0 Budget Month Guest Post: On the V Side

Hello there!

Thanks to Stephanie for having me here!  I'm Emily from On the V Side - my blog where I focus on fun, family, and attempting to beautify my home without breaking the bank. Like the banner says, "Martha Doesn't Live Here" :)   From decor to crafts, my philosophy is that Your Home Doesn't Have to be Perfect... Just Perfect for YOU.
Stephanie's $0 Budget Month challenge totally appeals to me, because who doesn't love to create something fabulous out of stuff you already have?  If you're like me, shopping the house is one of the most gratifying experiences.

Check out some of these projects that you can create your own version of with stuff you likely have in your house right now:
(for the full tutorials, just click on the links below the photos)

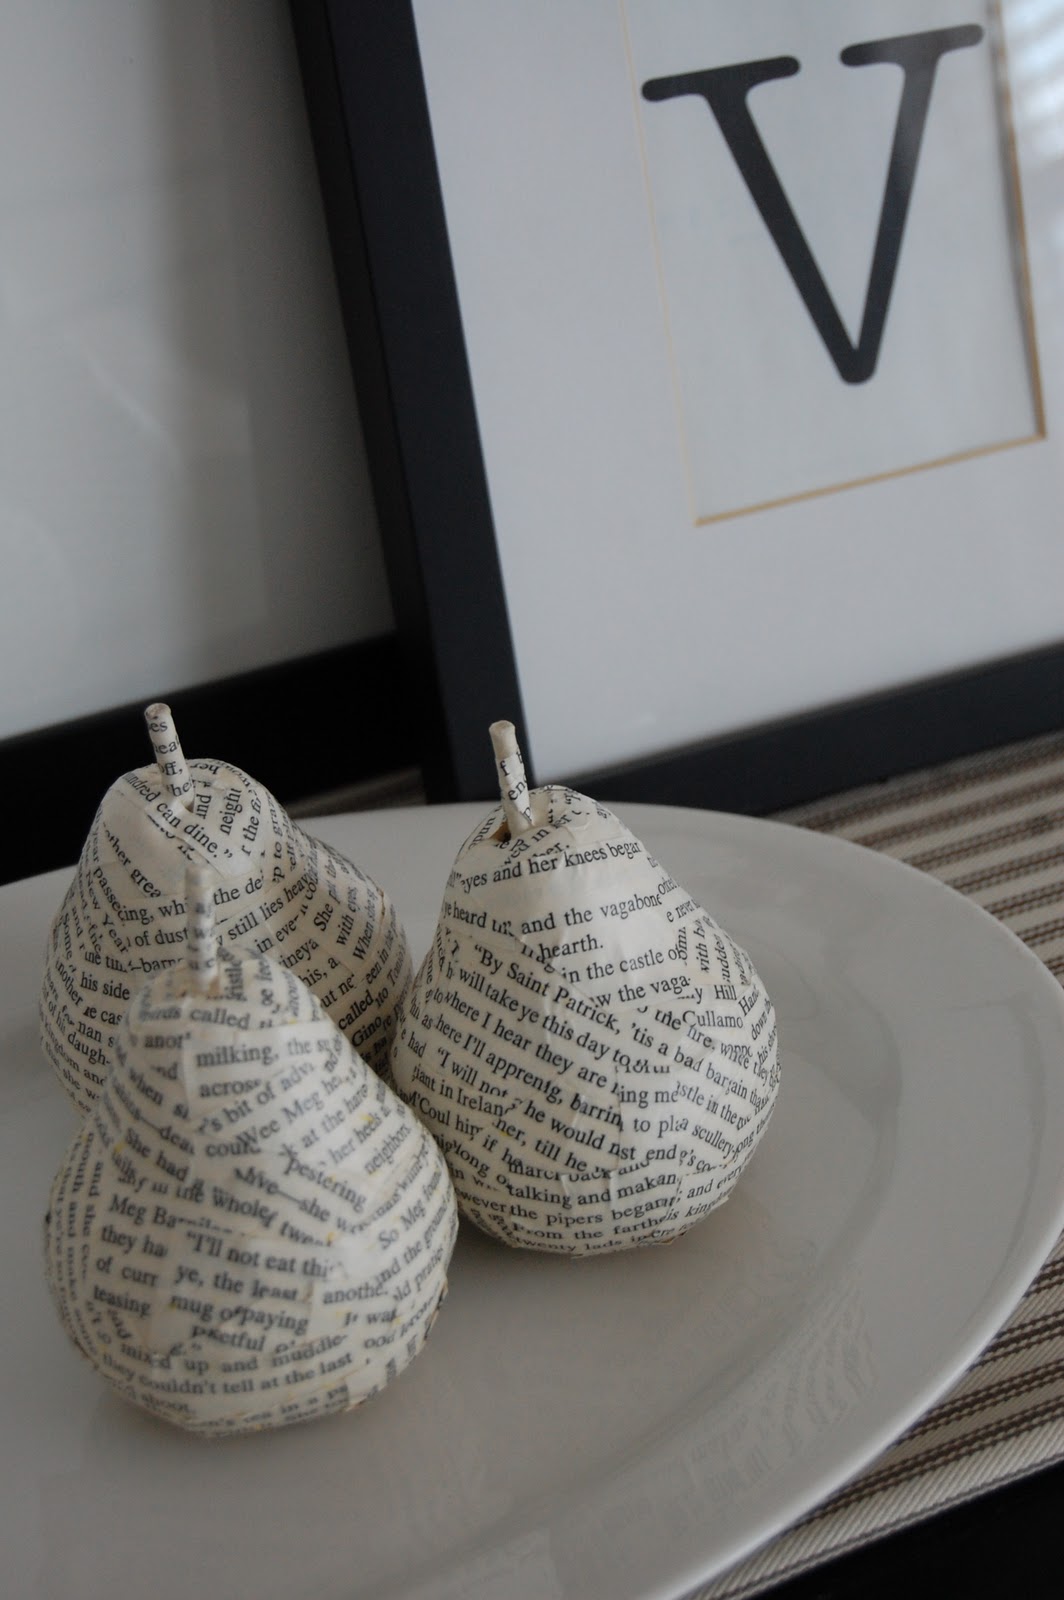
I'm willing to bet most everyone has some sort of outdated figurine or small statue that has seen better days, collecting dust all packed away or headed for the Goodwill pile.
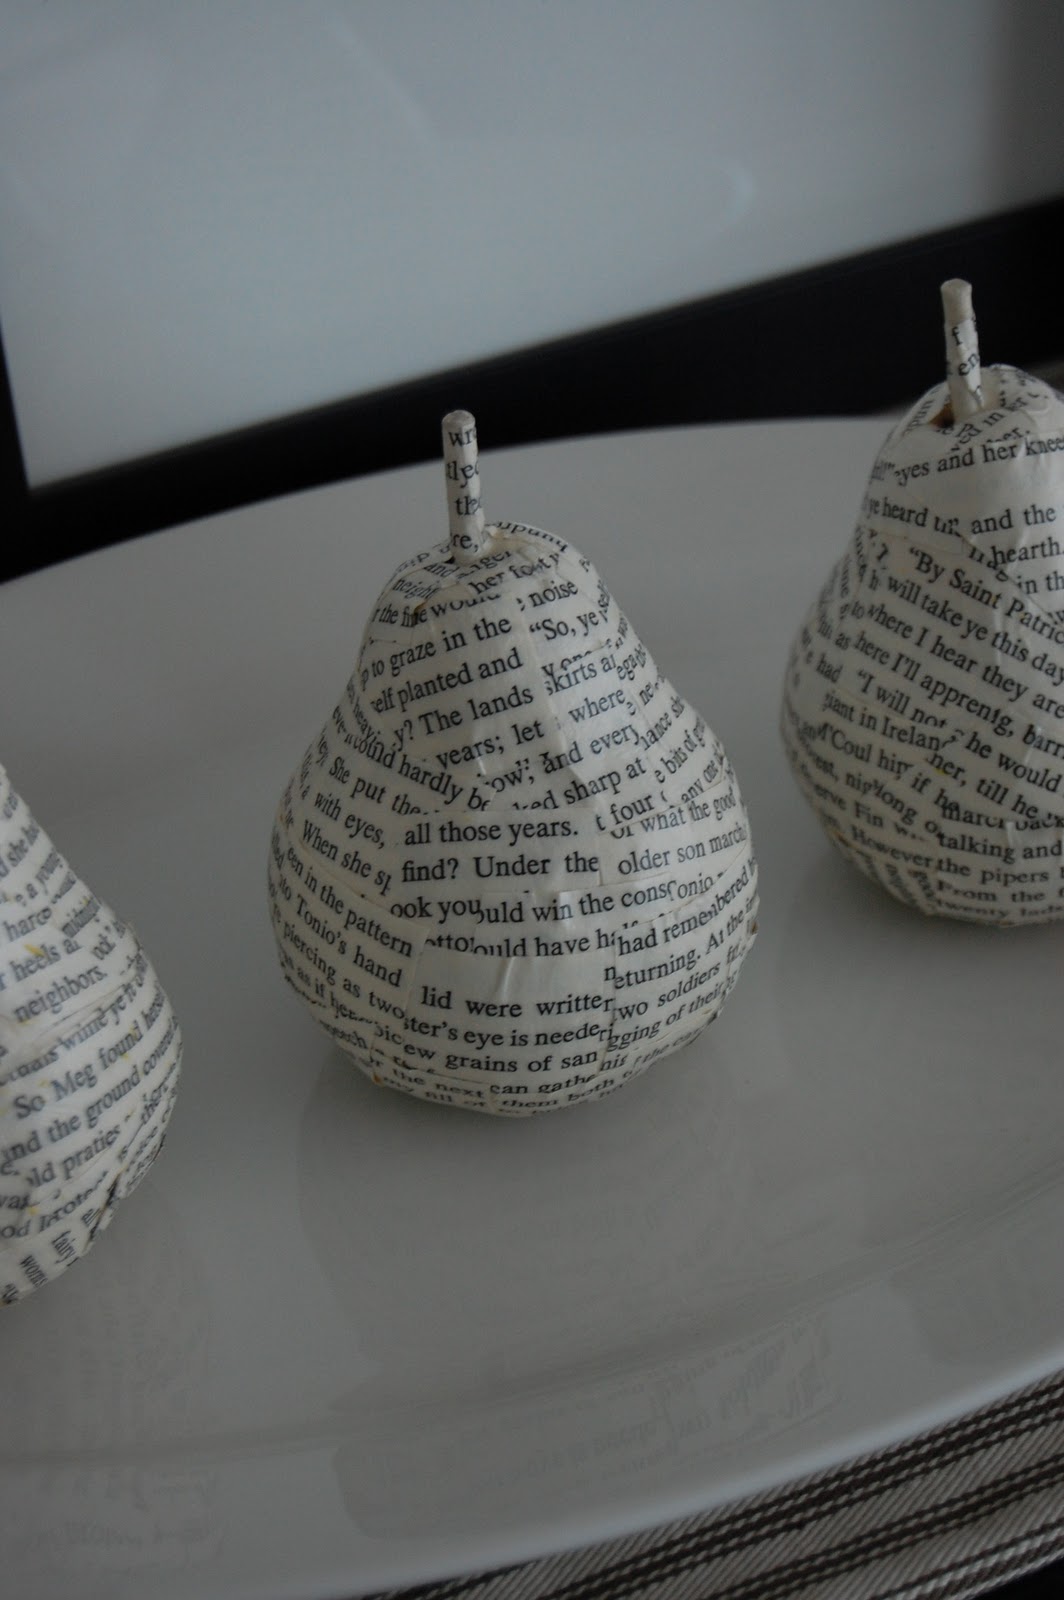
I took some inspiration from Anthropologie and gave these old pear ornaments a face lift just by covering them in book pages.


 Anthro-Inspired Pears

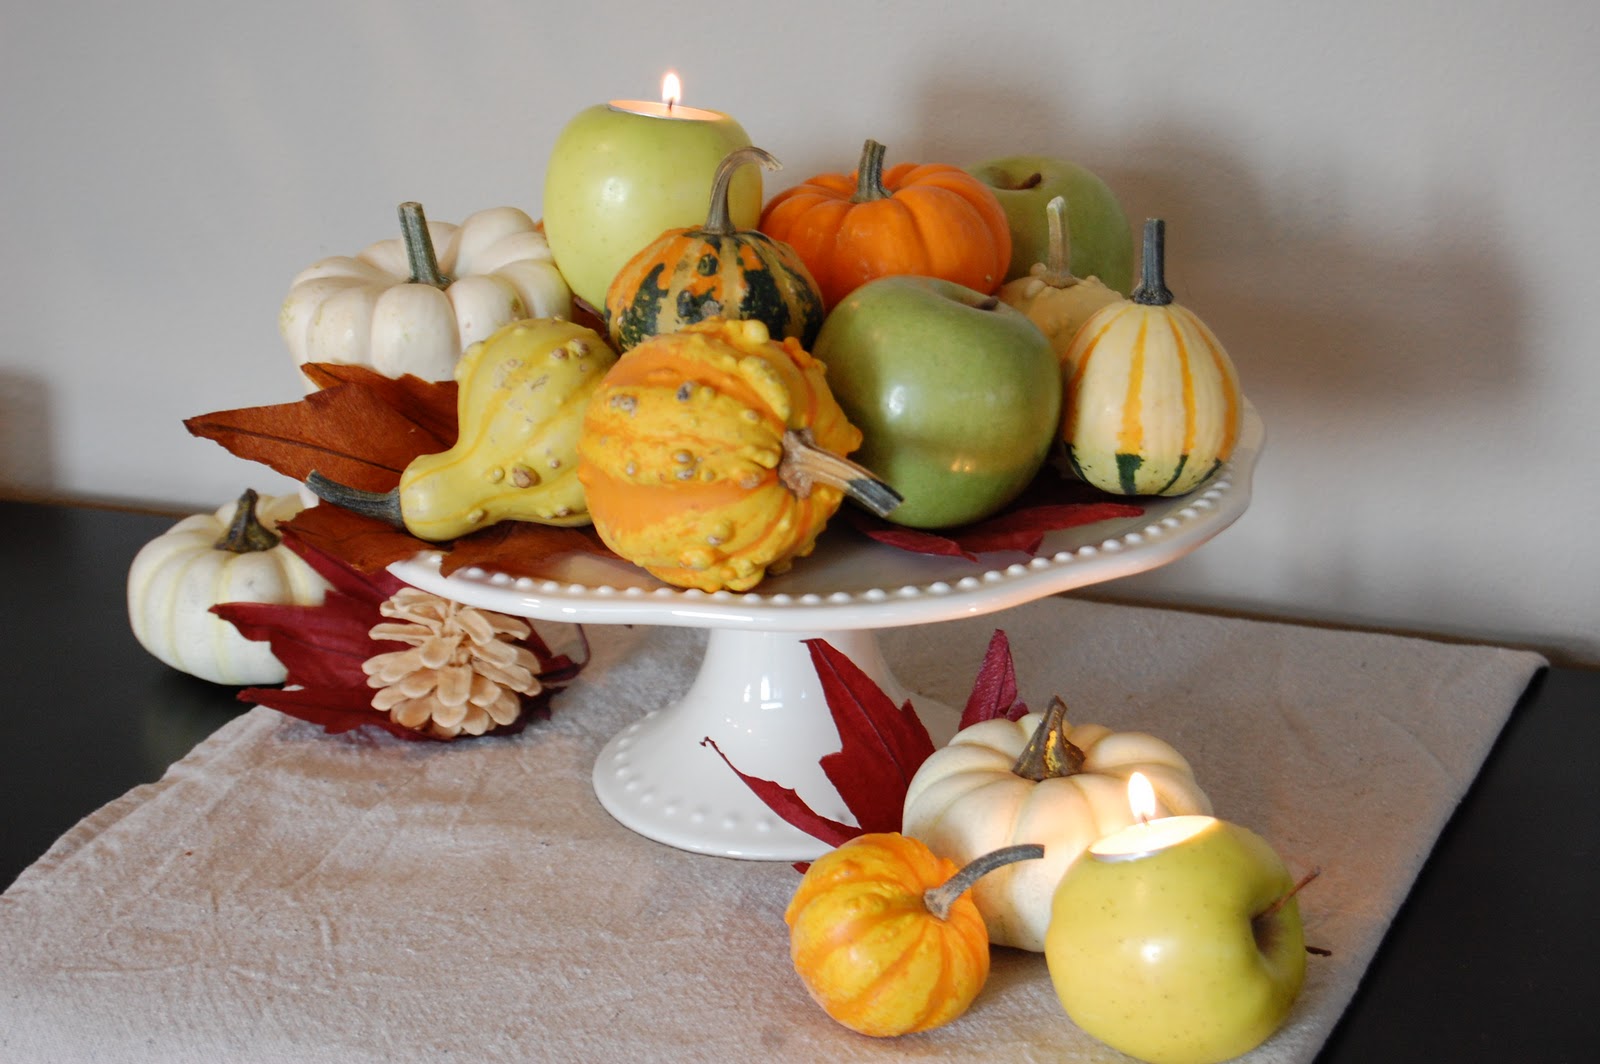
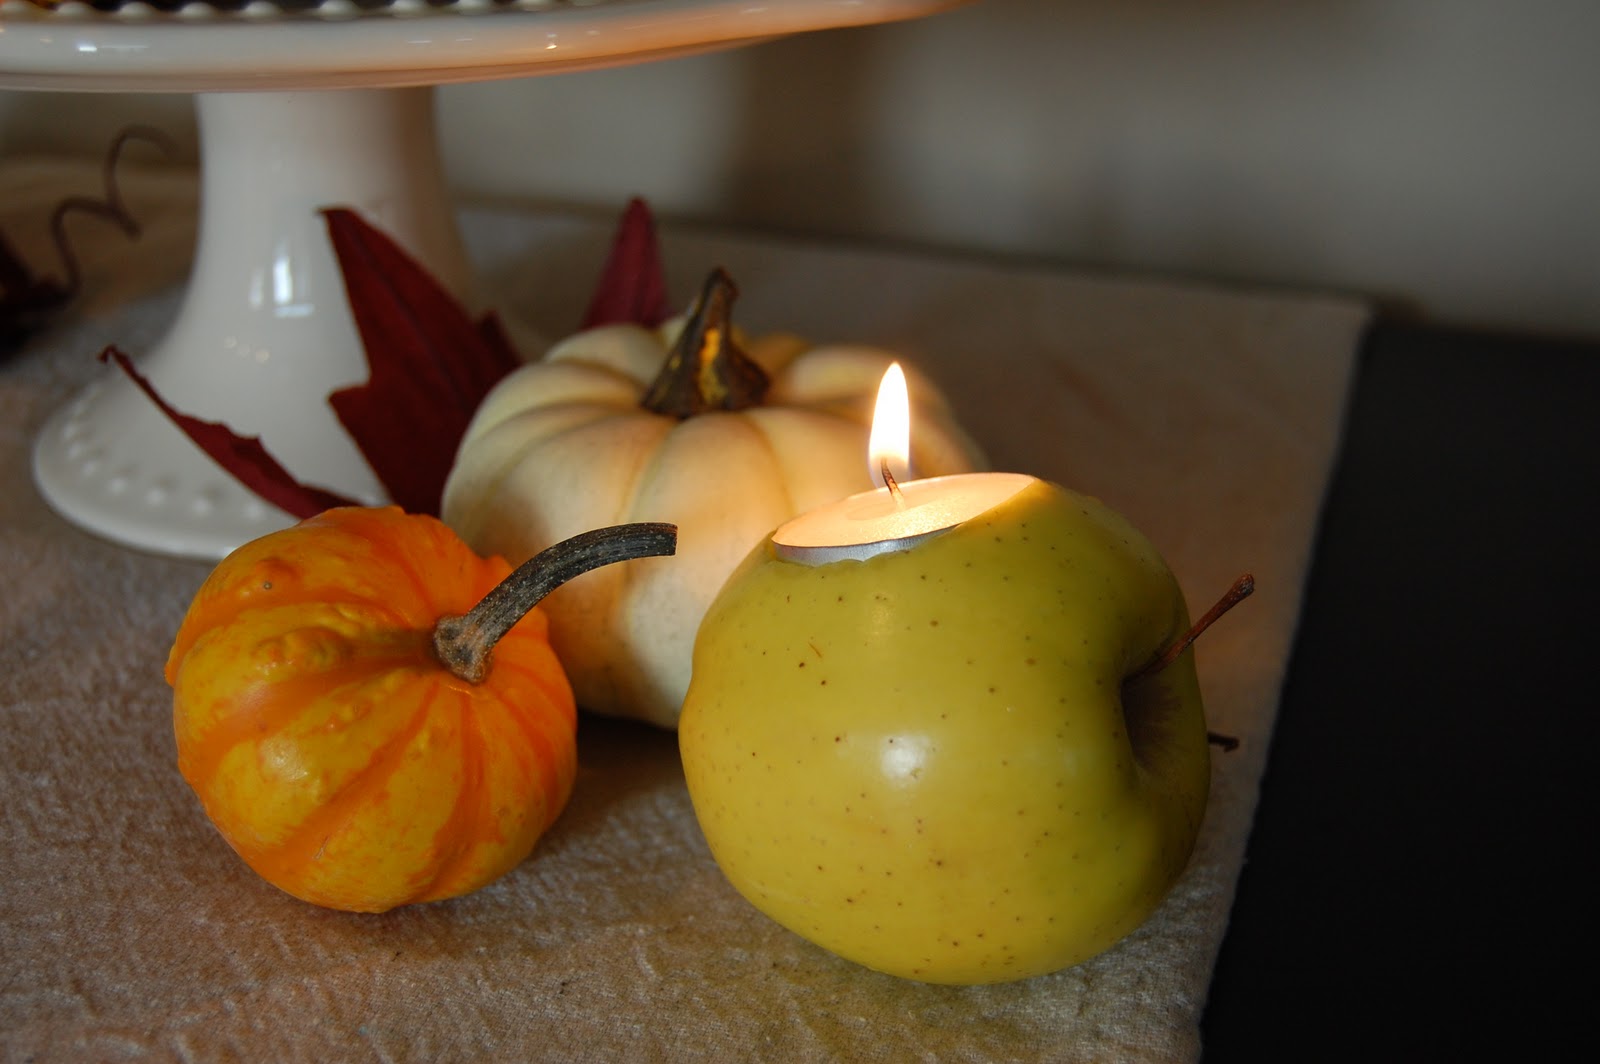
I was looking for some candles and holders that would work with my harvest decor, and in the end decided I would just make my own.
I found some apples in the fridge and some tealights hiding in a drawer... and voila!  Instant candles!


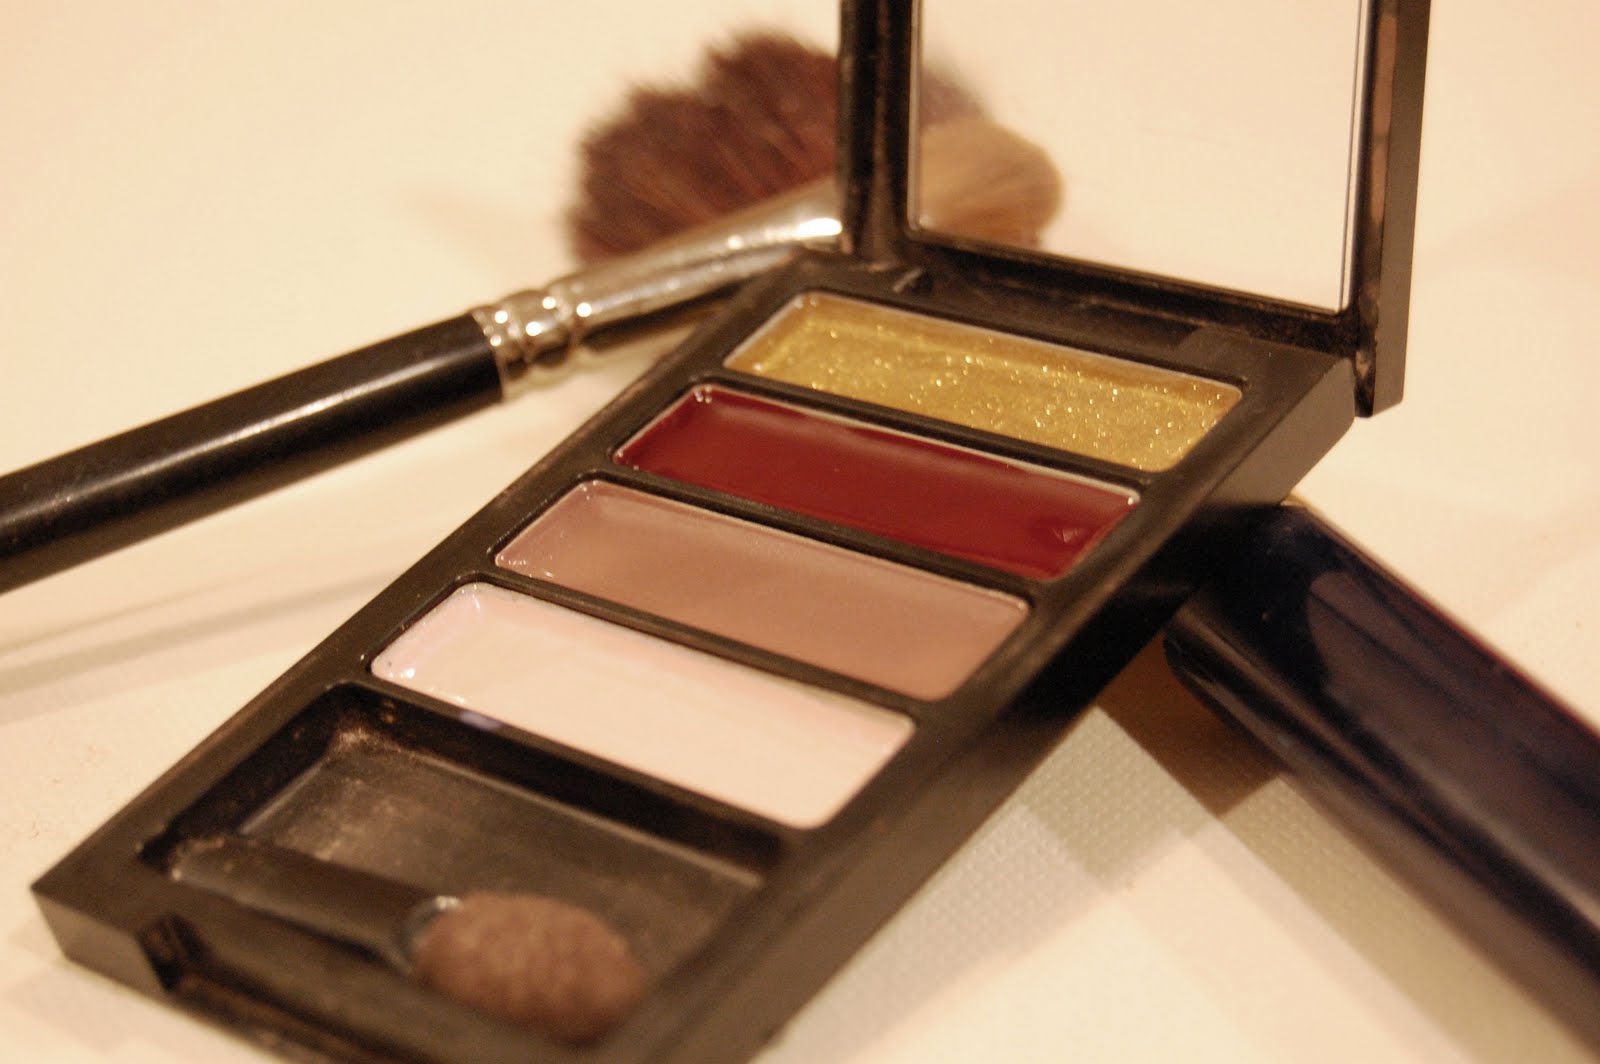
And for you moms of daughters, I'm sure you can relate to having a pint-sized friend wanting to play with your makeup.  I have a 2 year old who thinks she "needs" to put on "her" makeup when I'm putting on mine.  Well....no.  I'm not a fan of handing over eye shadow and blush to a maniac toddler! :)  
So, I created this realistic-looking "play" makeup using just an old empty eye shadow case and nail polish.
Those are just some of the $0 projects from On the V Side - thanks so much to Full of Great Ideas for letting me hijack your blog today!


Cheers,

Sunday, January 1, 2012

Special Date Art on my $0 Budget

Happy New Year Everyone! Are you ready for a full month of not spending? For those of you who are partaking in this experiment with me...I can't tell you how excited I am to have your support!
I have had emails with people inquiring as to the rules for this challenge; I cannot set the rules for you. Each and every one of us needs to set our own goals and work towards them. For me, I have a list that my family and I will live by over the next 31 days. I absolutely love what Mother Hen Strikes Again posted on her blog as her rules, so I thought I would share what she wrote (my additions are in italics).

7 golden rules for my $0 Budget month:
1. Thou shall not spend ANY money on Crafts and home  decor or go into a craft or Dollar store
2. Thou shall not spend ANY money on DVDs, CDs, Books or Clothes
3. Thou shall not spend any money on Sweets or Treats (make whatever you got for Christmas last until February young lady!) This will be especially hard for me because I am addicted to potato chips and chocolate. So maybe I will drop a few pounds while I am saving a few dollars.
4. Thou shall only buy essential groceries and make savings wherever possible!
5. Thou shall only complete crafts with the items already in the house
6. Thou shall not go to ‘Coffee’ or ‘Lunch’ with other Mummies unless invited to their home or them to mine.
7. Thou shall think “Thrifty”.

Don't you love those?   Please be sure to stop by Mother Hen Strikes Again to see what else she has to say during our month of not spending.

On to my first $0 post for 2012 - Special Date Art
This is another craft inspired by my countless hours spent wasted browsing Pinterest. Andrea at A.Steed's.Life originally posted this project by creating a digital image of the background and numbers. I love what she did but I wanted to use scrapbook paper that matched the color of accessories I am starting to use in my family room (more of that this month). So I made it differently with scrapbook paper and vinyl.

Materials (all of which I have on hand):
  • Scrapbook paper
  • Vinyl or contact paper in black and white
  • Picture frame (8x10)
  • Painters tape
  • Red paper


Method:
I designed my family's important date art in an 81/2 x 11 image Sure Cuts a Lot program. If you don't have this program and/or a digital cutter, you can create it in Microsoft Word or Publisher and then print it directly onto scrapbook paper.

When I created the image, I made it so that the numbers stretch to be the exact same width because I wanted both sides to line up perfectly.
I also used Modern No. 20 font for this (you can easily find and download this font on those free font sites).

Once I had the exact design I wanted, I removed the center row of numbers because I wanted that row to be white. I cut the four dates in black vinyl and then cut the other in white.
Using my painters tape method to transfer vinyl, I moved all four rows of the black vinyl at the same time. This way I was able to ensure they were perfectly spaced and straight.

 I then added the row of white numbers using the same method.
 I added a small red heart to the white vinyl to add a splash of color.

Here is my finished project on our shelves...I will add (because I feel I need to say it even though this is a $0 month) it cost me nothing because I have hundreds of scrapbook pages, yards of vinyl and contact paper and probably 30 frames on hand. Isn't it great!?
 Thank you Andrea for this amazing idea.
Good luck everyone with your spend free month. Remember we are all here to support each other...so if anyone needs to share a story or seek a little support..post a comment or send an email and we will be there for you.

There is an amazing $0 guest post tomorrow..so please try to stop by.

1 day down....30 to go.
Stephanie at Full of Great Ideas

Wednesday, December 28, 2011

Anyone Interested in Guest Posting on Full of Great Ideas during the $0 Budget Month?

As January 1st and our $0 Budget month is rapidly approaching, I thought I would put out an offer to all my fellow bloggers out there. Are any of you interested in doing a guest post on Full of Great Ideas during January’s $0 Budget/Spend Free month?  

I really want to make January full of as many fantastic $0 projects, tips & tricks and saving techniques as possible and since you all have amazing ideas, I thought this would be a fantastic way of sharing older posts you have done.

What do you think? Would you like the chance to guest blog at Full of Great Ideas?

If you’d like to guest blog at Full of Great Ideas during the $0 Budget Month, here are a few ideas as to the posts I am looking for:
·         The project must have been done with materials you already had at home. So $0 budget.
·         If you have a way of doing something that is far cheaper than the traditional method, please share!
·         If you have found a way to save money, time, etc. that you think others could benefit from, we would love to hear about it. This could include recipes, household activities, etc.
·         Anything else you think will fit into the $0 Budget Month challenge, please include it.

 So if you are interested, here is what you need to do:
·         Create a post that introduces yourself and then shows off no more than 3 projects, tips, crafts, saving tricks, etc. that you have previously blogged about. I recommend only include one or two pictures per project.
·         If you have enough projects that you can do 2 guest posts, please send them in different emails. I cannot guarantee both will be posted, I don’t know what demand I will have J
·         The layout of the post could be: your blog header or a photo of you, a short introduction on yourself and your blog and then your three projects. Please include links directly to the projects.
·         Please don’t make this a tutorial, I want you to introduce yourself and encourage people to come to your blog for your full tutorial or instructions.
·         Email me the blog post code to fullofgreatideas(at)gmail.com. It is really easy to pull your ‘code’ for a blog post. On Blogspot and Wordpress, there is a little tab on the upper right hand corner of the box where you type out your post called ‘HTML’. This is where you find your code. Once you have completed your blog entry, save it and then click that tab. Copy every last letter or symbol in that box, paste it into the body of an email and send it to me. 

As I receive your code, I’ll schedule a day for you in January and let you know when you will be featured. I would greatly appreciate if you could post on your blog that day letting your readers know you are guest blogging at Full of Great Ideas during our $0 Budget Month.

Let’s help everyone save some money after Christmas!

If you have any questions, please feel free to send me a note and I will try to help.

Stephanie at Full of Great Ideas

Sunday, December 11, 2011

Monogrammed Ornament using Nail Polish

I came up with this Monogrammed Ornament idea by trying to post crafts that did not require a Silhouette or Cricut (as promised). This is a glass ornament was really simple and is nice on the tree.

Materials:
Glass ball ornament
Monogram Stickers (I got mine at the Dollar Store)
Nail polish

Method:
I have this really horrible red glitter nail polish. The color is nice as it is a deep red but the glitter gets everywhere! When you try to remove it from your nails, you are litterally left with glitter all over your hands, counter...horrible stuff. And being the pack rat I am, I never threw it out. I guess I knew it would come in handy.

I cut the monogram initial sticker out of the sticker book.
 Using the outer part of the letter as the template, I stuck it carefully to the ornament.
 I used a small section of a toilet paper roll to keep the ball from rolling around on the table. This is an important step..otherwise you might end up with nail polish on your surface.
Paint the area you want colored with a good amount of nail polish. I didn't know if 2 coats would work, so I did one thick coat of red nail polish.
 Once done, let it dry. This is the step I failed to do. I quickly removed the sticker and didn't end up with really clean lines. Be patient and wait until it dries completely. It will take a little longer because the nail polish is thick.
 Once dry, hang it on the tree. The lights actually shine through my nail polish and look amazing.
Sorry I couldn't get a great photo of it. But I think you get the idea.

I had all the materials on hand so it cost me nothing! There are so many possibilities you could do with this.

Merry Christmas everyone.
Stephanie

Snowman Ornament

This is not an original idea from Full of Great Ideas but I thought it was so cute that I would share it with all of you looking for some Christmas ideas.

I Pinned this snowman ornament what seems like ages ago and completely forgot about it until this week. Do you also have this problem with Pinterest? You pin hundreds of things, but never actually make any of them or you simply forget what you have in your folders. After finding this cutie again, I have started to go through my pinned folders to see what I want to make.  Well this snowman originated here on the Craft Elf site.

I did this with my kids, so it is a child friendly craft.

Materials:
  • Glass ornament
  • Artificial snow
  • Black and orange fabric puff paint
  • Funnel

Method:
Remove the hanger from your glass ornament. Please be careful if doing this with kids, some of the edges on the mouth of the ornament can be pretty sharp. I don't want any little fingers cut :)
Using the funnel, pour the artificial snow into the ornament until it is completely full. The artificial snow is really messy and get everywhere so do this slowly and not around a candle :)
Put the top back onto the glass ornament and paint black dots for the eyes and mouth.
I love the puff fabric paint because it is glossy and give dimension to the face.
Add an orange nose (my orange was a little lighter than I would have liked, but it gloss in the dark and that is what the kids wanted). Start with the fattest part of the nose and work towards the tip. This makes the best shape I find.
If your kids make the ornament, you can put the date on the back with paint.

Let it dry completely and hang it on the tree.
The craft took maybe 5 minutes and cost me nothing, since I had everything on hand. Isn't he cute?!

Merry Christmas everyone!
Stephanie

Thursday, December 8, 2011

My 1 Month, $0 Budget challenge (V2.0) starting January 2012 - Want to do it with me?

As you know, last March my husband and I made a decision to not spend any money on non-essential items. As I said then, March became our 'spend free' month....a moneyatorium month...a spending moratorium month. We didn't allow ourselves or our kids to spend money on anything other than what was absolutely necessary.  We could buy fresh produce and other essential food items but could not buy any meat or frozen veggies until all we had in the freezer was used up. We weren't/aren't having financial troubles; we were just shocked at how much we spend! We took a serious look at our spending habits and realized we needed to step back and re-evaluate what we needed to spend money on. See the full post here.
March's spend free month produced amazing results for us as home owners and parents. I spent days purging everything from my linen closet and kids clothes to crafting materials that I knew I would never use. We spend weekends as a family playing games and not rushing around a store. We gave more to charity in that month than we did in the entire year and we felt amazing for it.

Well, as this Christmas season is rapidly approaching and our credit card bill is even more rapidly growing, I feel I need to do this spend free month again. I thought January would be a good month because by the time our credit card bills arrive mid month, I will already by well into the month and I will be saving money. I won't feel quite as bad when I open those envelopes.

After receiving a very nice note from Mother Hen Strikes Again (who is also doing this in January), I thought this might be something we could all do together. Who doesn't love the support of thousands of strangers to get through a month of not spending?
What I am proposing is a month long challenge where we all vow to not spend money on non-essential items. No crafting supplies, no home decor, no clothes...nothing you cannot literally live without. If you are interested, I would host a party once a week and we can share with each other what we made, accomplished or any other thing we feel the others would benefit from. What do you think? Is anyone out there interested in participating in this? Please leave a comment a tell me what you think.

Now, do we all go out and stock up on crafting items (like hot glue sticks, modpodge, etc.) in the month of December in order to have enough for your spend free month...no. That really defeats the purpose of the spend free month. However, if you do, we will not judge. We are trying to support each other and help everyone out with saving a few dollars after Christmas.

I am sure many of you are just like me and have stashes of stuff all over your house. I think my first post will be photographs all my crafting materials to share with you how much crap stuff I have hoarded.Here are some photos from last year. I can guarantee this years will not be any better.
 I don't need ANY wood!
Fabric? I have three huge tubs of it..just in case I ever want to sew something.
 Spray paint anyone??? The worse part is, they are three deep!
Let me know what you think and if you have any suggestions. I would love to hear your feedback and whether or not you would like to participate.

I hope some of you out there will participate and we can motivate each other!

Have a great Thursday everyone and I will have some cute ornament posts tomorrow.
Stephanie at Full of Great Ideas